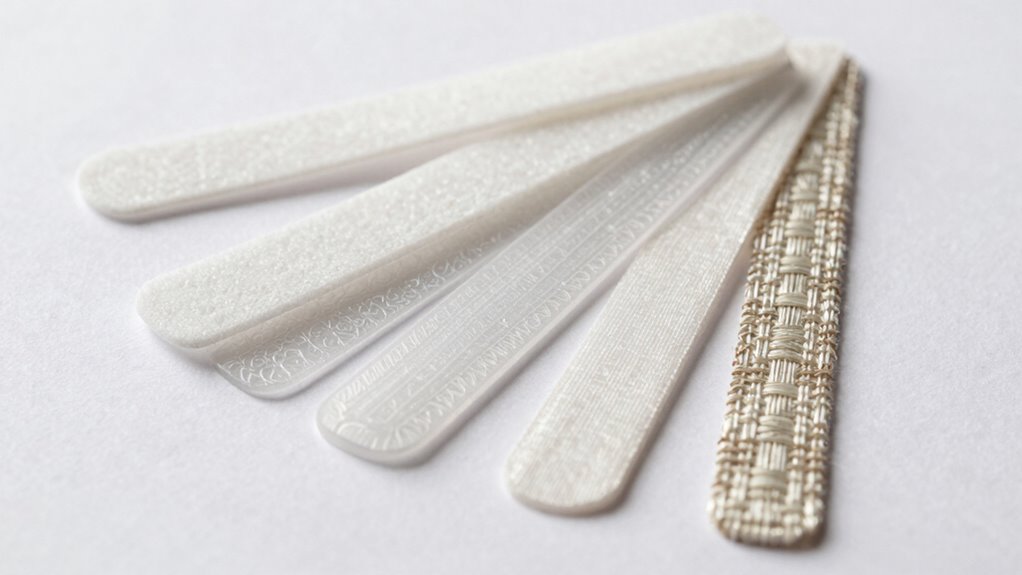
Embroidery stabilizers are supporting materials that help keep your fabric smooth and prevent puckering during stitching. They come in different types like tear-away, cut-away, and wash-away, each suited for specific fabrics and designs. Choosing the right stabilizer depends on your fabric weight and design complexity. Proper hooping, tension, and stabilizer selection are key to professional results. Want to learn more about choosing and using stabilizers effectively? Keep exploring for tips and techniques that make your embroidery perfect.

Get your wardrobe favorites delivered free with Prime
- Fast, free delivery on millions of items
- Prime Video, Amazon Music and more included
- Member-only deals all year
Key Takeaways
- Stabilizers support fabric during embroidery, preventing puckering and distortion for smooth, professional stitches.
- Different fabrics require specific stabilizers—lightweight fabrics need tear-away, heavy fabrics need cut-away.
- Proper hooping and machine tension are crucial for stabilizer effectiveness and stitch quality.
- Combining stabilizers can enhance support for complex or delicate designs.
- Testing on scrap fabric helps determine the best stabilizer and settings for each project.
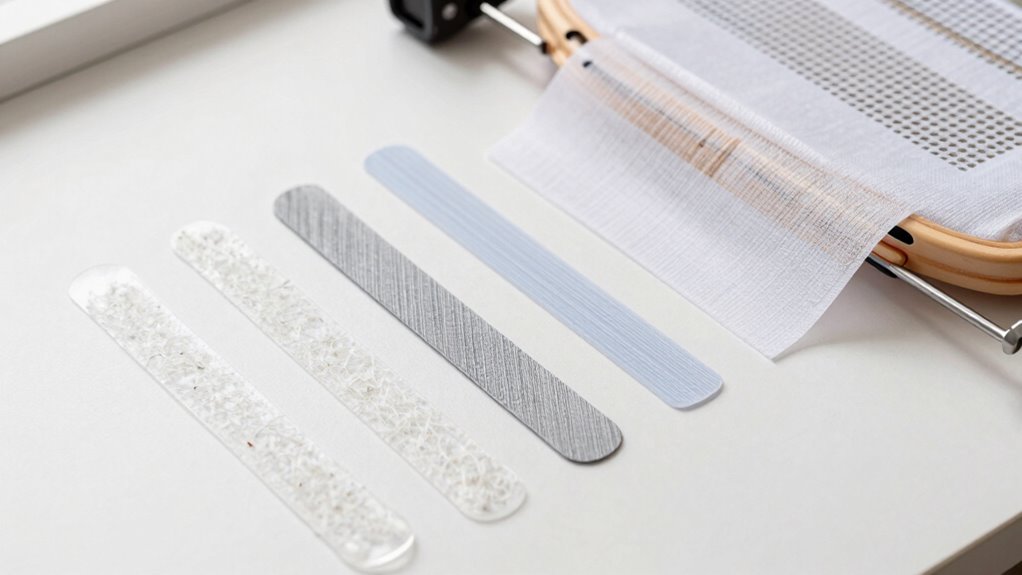
Have you ever wondered why some embroidery projects turn out perfectly smooth while others pucker or warp? The secret often lies in choosing the right stabilizer and understanding how it interacts with your fabric and machine settings. Different fabric types—like lightweight cotton, dense denim, or delicate silk—require specific stabilizers to keep stitches even and fabric stable. For example, a soft tear-away stabilizer works well with lightweight fabrics that don’t need much support, whereas a heavy cut-away stabilizer is better suited for thicker, more rigid textiles. Knowing your fabric type helps you select the stabilizer that provides the right amount of support without adding bulk or causing distortion.
Choosing the right stabilizer based on your fabric type ensures smooth, professional embroidery results.
Your machine settings also play an essential role in achieving a smooth finish. If your tension is too tight or too loose, stitches won’t sit correctly, and puckering can occur regardless of the stabilizer used. Adjusting the tension to match your fabric and stabilizer ensures that stitches are even and the fabric remains flat. Additionally, the type of embroidery hoop you use and the pressure applied can influence the final look. Using a hoop that’s too tight can stretch the fabric and cause warping, while a loose hoop might let the fabric shift, resulting in uneven embroidery. Always test your machine settings on a scrap piece of fabric before starting your main project to find the perfect tension, speed, and stitch length for the combination of fabric and stabilizer you’ve chosen.
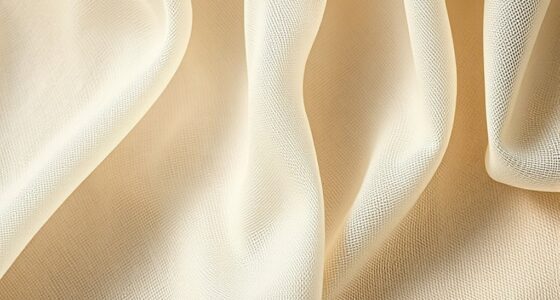
It’s vital to understand that stabilizers aren’t one-size-fits-all. For lightweight and delicate fabrics, a water-soluble stabilizer might be ideal, especially if you want a soft, almost invisible finish. For sturdy fabrics, a cut-away stabilizer provides lasting support, preventing puckering as the stitches add up. In projects with complex designs or dense stitching, combining stabilizers or layering them can offer extra stability. Understanding fabric types is crucial because different fabrics respond uniquely to various stabilizers, impacting the final quality of your embroidery. Experimenting with different stabilizer types and techniques can help you discover the most effective approach for each project, ensuring professional results. Learning about fabric behavior can also help you troubleshoot issues like puckering or uneven stitches more effectively.
Ultimately, achieving a perfectly smooth embroidery isn’t just about the stabilizer—you need to think about fabric types, machine settings, and hooping techniques. Proper hooping is especially important, as it minimizes shifting and distortion during stitching. When you understand how stabilizers work with your fabric and machine, you’ll find it easier to create professional-looking embroidery that’s free of puckers, warps, or distortions. Additionally, staying informed about different stabilizer options allows you to adapt your approach for various projects and fabric characteristics. With a little practice, selecting the right stabilizer will become second nature, giving you confidence in every stitch you make.
As an affiliate, we earn on qualifying purchases.
Frequently Asked Questions
Can Stabilizers Be Reused After Embroidery?
Stabilizer types mainly determine if they can be reused. Generally, tear-away stabilizers are reusable if they remain intact and clean, while cut-away stabilizers can often be reused if they’re still in good condition. Consider reuse considerations like cleanliness and structural integrity. If stabilizers show fraying, tearing, or dirt, it’s best to replace them to guarantee your embroidery stays perfect. Always assess the stabilizer’s condition before reusing.
How Do I Choose the Right Stabilizer for Delicate Fabrics?
To choose the right stabilizer for delicate fabrics, you need to take into account fabric tension and stabilizer types. Opt for a lightweight, tear-away or water-soluble stabilizer that offers gentle support without adding bulk. Test different stabilizers on a scrap piece of your delicate fabric to see how it responds during embroidery. This way, you guarantee the stabilizer provides stability without distorting the fabric, giving you a clean, professional result.
Are There Eco-Friendly or Biodegradable Stabilizers Available?
They say, “Every little bit helps,” and that’s true for eco-conscious embroidery. Yes, biodegradable options and eco-friendly materials are available, so you can choose stabilizers made from sustainable sources like plant-based fibers or recycled materials. These options break down naturally, reducing environmental impact while supporting your creative projects. Look for labels that specify biodegradable or eco-friendly to guarantee you’re making a greener choice without sacrificing quality.
How Do Stabilizers Affect the Final Embroidery Quality?
Stabilizers considerably impact your embroidery quality by maintaining proper thread tension and ensuring fabric compatibility. When you choose the right stabilizer, it prevents puckering, shifting, or stretching, leading to crisp, professional stitches. For delicate fabrics, a lightweight stabilizer preserves softness, while sturdier options suit thicker materials. By selecting an appropriate stabilizer, you help your embroidery look polished, with consistent tension and flawless design details.
What Are the Signs of Using the Wrong Stabilizer?
You’ll notice signs of using the wrong stabilizer if your embroidery puckers, warps, or has loose threads. For delicate fabrics, a lightweight stabilizer is best, but a heavy one might cause stiffness. Different stabilizer types suit various embroidery techniques; for instance, cutaway stabilizers work well on knits, while tear-away stabilizers suit woven fabrics. Choosing the wrong stabilizer impacts stitch quality and overall appearance.
Conclusion
Now that you’ve explored embroidery stabilizers, you realize it’s no coincidence they’re essential for perfect stitches. Just like choosing the right fabric, selecting the right stabilizer guarantees your designs come to life smoothly. When you understand their purpose, you’ll find it easier to create professional-looking projects every time. So, keep experimenting and trust that with the right stabilizer, your embroidery journey will always flow seamlessly—because success often comes down to the smallest details.
Halloween Picks
halloween
As an affiliate, we earn on qualifying purchases.