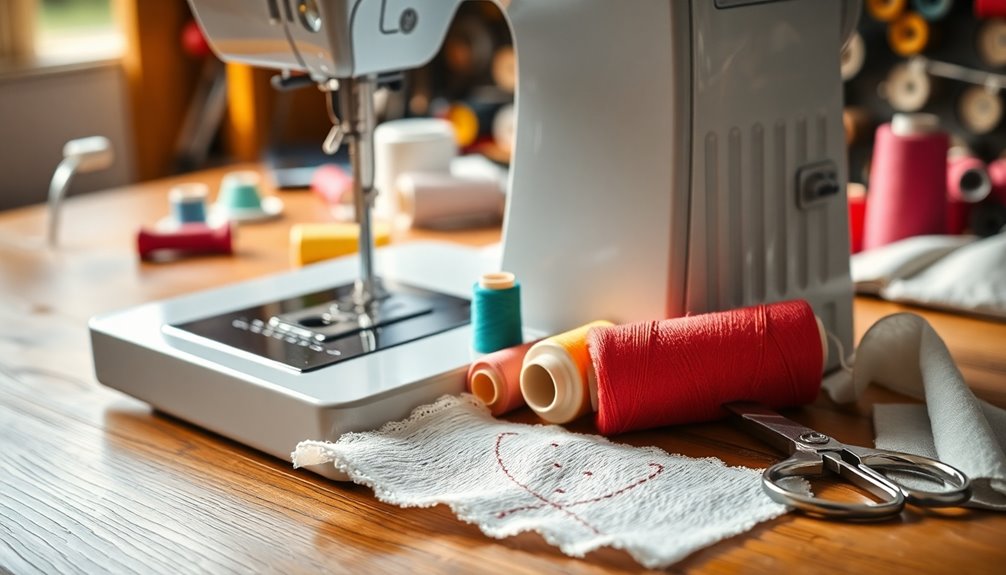
Stitching can be simple and enjoyable with the right tips. Start by choosing quality fabric, like quilting cotton, for easy handling. Familiarize yourself with thread types, as cotton works best for natural fibers. Master bobbin winding techniques and keep your sewing machine clean for smooth operations. Remove stitches carefully and know how to place pins effectively. With these essentials, you're well on your way to sewing success. There's much more to discover to enhance your skills!
Key Takeaways
- Choose the right fabric type and quality to ensure ease of handling, especially for beginners with quilting cotton.
- Regularly maintain your sewing machine by cleaning and oiling it to prevent issues like skipped stitches or thread jams.
- Use proper stitch techniques like backstitch for durability and whipstitch for finishing edges to enhance your sewing projects.
- Adjust machine tension and stitch length based on fabric type to avoid seam puckering and ensure smooth stitching.
- Utilize effective pin placement strategies to secure fabric layers and improve alignment for more precise sewing results.

doubgood 2026 World Soccer Cup Soccer Bracelets for Women Men, Stackable Soccer Jewelry Game Day Fan Accessories Gifts for USA Soccer Fans
2026 World Soccer Cup Soccer Bracelets: Show your soccer spirit with these stackable soccer bracelets designed for game...
As an affiliate, we earn on qualifying purchases.
How to Buy Fabric: A Beginners Guide

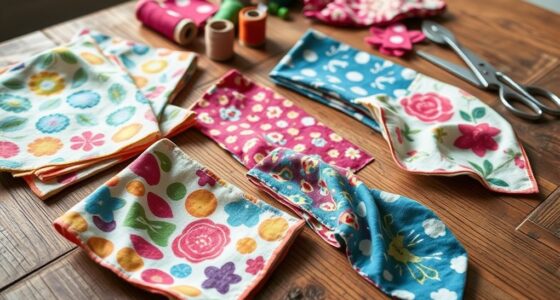
When you're ready to buy fabric, how do you know what to choose? Start by familiarizing yourself with different types of fabrics like cotton, linen, and polyester. Each has unique properties suited for specific projects, making it essential for your sewing journey.
For beginners, quilting cotton is a great choice due to its ease of handling. Always assess fabric quality by checking its weight, texture, and weave—high-quality fabrics are more durable and easier to work with.
Don't forget to prewash and preshrink your fabric before cutting to avoid shrinkage later. Compare prices and quality at local stores and online to make informed decisions, and consider remnants for smaller projects.
With these tips, you'll learn to sew with confidence!

KNEYATTA Soccer Shirt Soccer Cup 2026 Shirt Soccer Fan Tee Brazil Tshirt Portugal Soccer Shirts Black
Soccer Tshirt : Iconic number 10, and soccer ball graphic, perfect for Soccer Cup, fans, and soccer enthusiasts.
As an affiliate, we earn on qualifying purchases.
Understanding Different Types of Thread
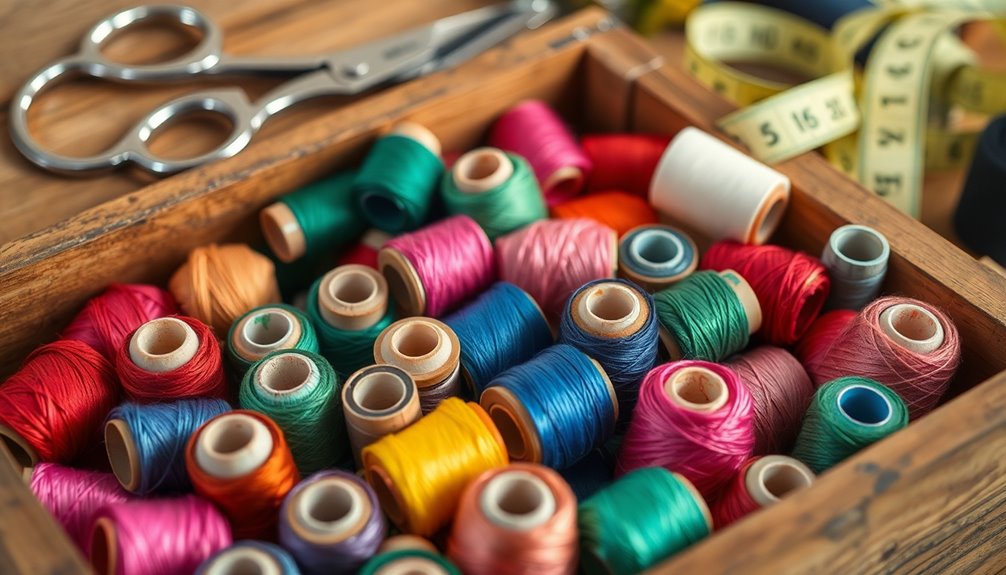
Choosing the right fabric is just the first step in your sewing journey; understanding different types of thread is equally important.
Sewing threads come in various materials, with cotton and polyester being the most popular. Cotton is perfect for natural fibers, while polyester excels in stretchy fabrics due to its durability.
When you're choosing the right thread weight, remember that lower numbers indicate thicker threads, and higher numbers denote finer ones. This selection impacts your project's outcome notably.
Don't overlook specialty threads like metallic or embroidery options—they can elevate your work but may require specific needles.
Finally, always match the thread color closely to your fabric for a professional finish. Your attention to these details will enhance your sewing experience. Additionally, consider using energy-efficient options in your sewing projects to reduce overall resource consumption and waste.
3N2 USA Fan Shirt – Breathable Lightweight Soccer Supporter Tee for Game Day, Training & Casual Wear (Unisex) - X-Large
Show Your USA Pride – Support your favorite country’s side with this stylish fan jersey designed for passionate...
As an affiliate, we earn on qualifying purchases.
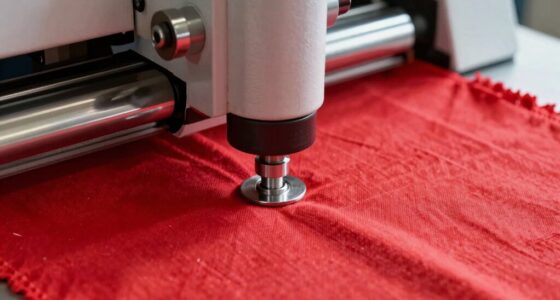
Wind Your Bobbin Correctly Every Time
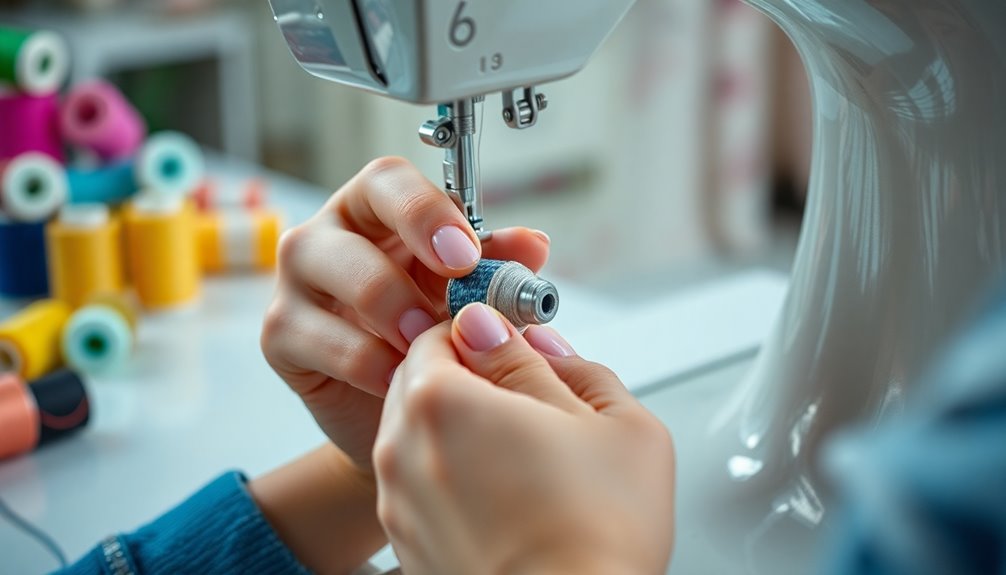
Winding your bobbin correctly is essential for achieving smooth, even stitches in your sewing projects. Always use the correct bobbin type for your sewing machine, as each model may require a specific design.
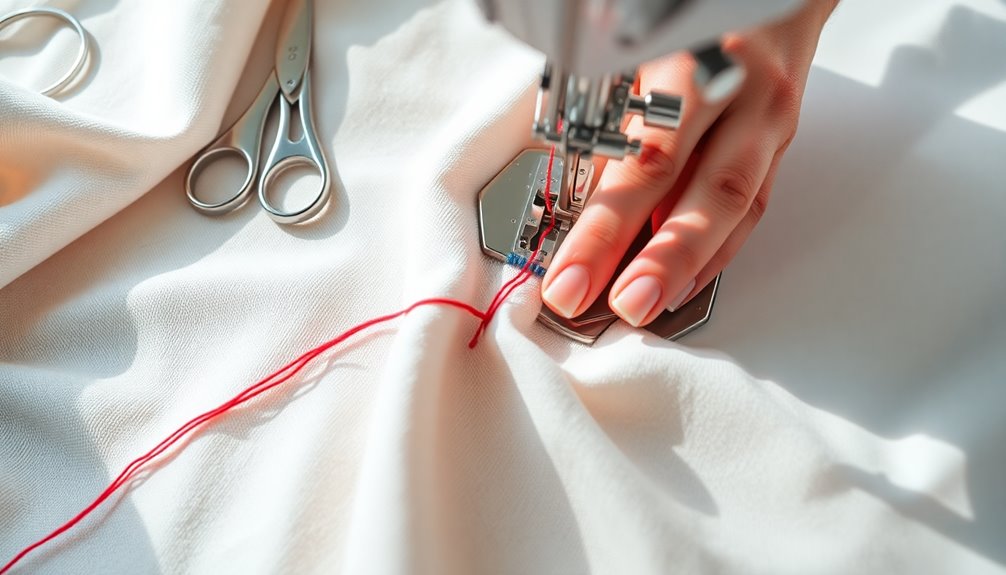
Fill your bobbin to about 90% capacity, winding it evenly and tightly to prevent slipping. When winding, hold the thread taut but not overly tight, allowing the bobbin to spin freely while ensuring smooth thread feed.
Avoid winding too quickly; this can create uneven layers, leading to tension issues during sewing. Before you start your project, check that your bobbin is wound correctly by gently pulling the thread. It should unwind smoothly without resistance, setting you up for success with your sewing techniques.

Funny Soccer Fan Humor I Yell Because I Care Soccer Dads T-Shirt
Funny design. Show your excitement as Soccer lover with this funny awesome design featuring the saying "I Yell...
As an affiliate, we earn on qualifying purchases.
Keeping Your Sewing Machine Running Smoothly
To keep your sewing machine running smoothly, you need to establish a regular cleaning routine and stay alert for signs that it may need servicing.
By paying attention to unusual noises or skipped stitches, you can address issues before they escalate.
Additionally, following proper maintenance practices will help prolong your machine's lifespan and guarantee enjoyable sewing experiences.
Regular Cleaning Practices
Your sewing machine is an essential tool, and keeping it clean is vital for maintaining its performance. Regular cleaning helps remove lint and dust from the bobbin area and feed dogs, preventing thread jams.
Use a soft brush or a vacuum attachment designed for sewing machines to gently eliminate debris without damaging the components. Don't forget to oil your sewing machine according to the manufacturer's instructions—typically every 8 to 12 hours of sewing—to guarantee smooth operation and reduce friction.
Also, check for any signs of wear, like frayed wires or loose parts, and address these issues promptly.
Finally, store your sewing machine covered and in a dust-free environment to prolong its lifespan and reduce the need for frequent cleaning.
Signs of Needed Servicing
Many signs indicate that your sewing machine might need servicing to keep it running smoothly.
Don't ignore these red flags; they could mean it's time for professional attention:
- Unusual Noises: Grinding or rattling sounds can signal a need for servicing.
- Skipped Stitches: Frequent skipped stitches or inconsistent tension are clear indicators your machine requires help.
- Fabric Jamming: If fabric is jamming or having trouble feeding through, it's often a symptom of deeper mechanical issues.
- Frequent Needle Changes: If you're replacing needles more often than usual, inspect for bending or dullness – it might be time for servicing.
Stay attentive to these signs, and your sewing machine will thank you with smooth stitching!
Prolonging Machine Lifespan
While keeping your sewing machine clean and well-maintained might seem like a chore, it's essential for prolonging its lifespan and ensuring smooth operation.
Start by regularly cleaning the bobbin area and feed dogs to remove lint and dust. This simple maintenance task optimizes performance and longevity.
Don't forget to oil your machine according to the manufacturer's recommendations, using only the right sewing machine oil to reduce wear on parts.
Schedule professional servicing at least once a year to tackle any hidden issues.
When not in use, store your sewing machine in a dust-free environment and cover it to protect it from debris.
Finally, pay attention to any abnormal sounds or irregular stitching—they're often early signs that your machine needs maintenance.
The Best Way to Remove Sewing Stitches
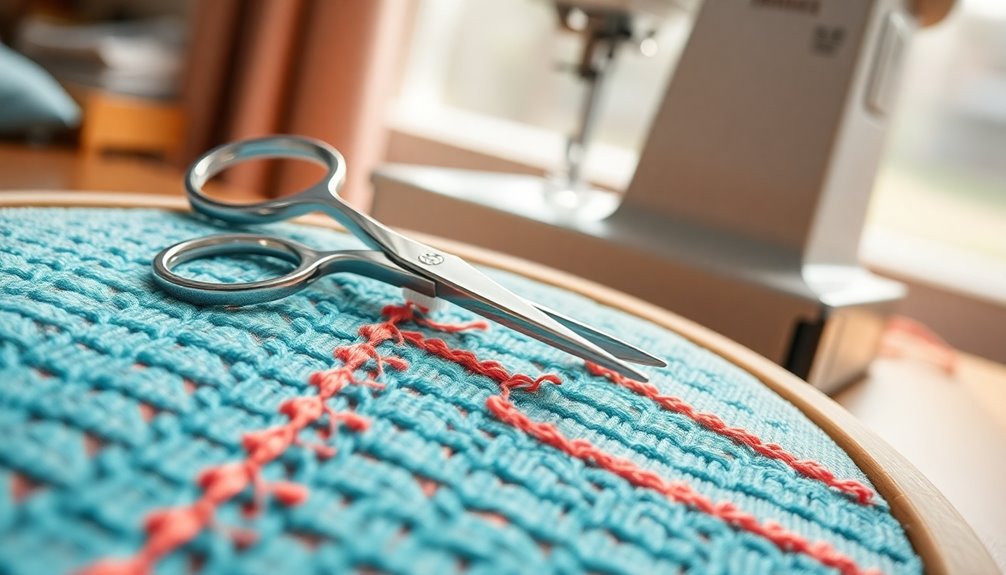
When it comes to removing sewing stitches, using the right tools and techniques makes all the difference.
Grab a seam ripper or small scissors and be sure to cut the thread gently to protect your fabric.
Safe Stitch Removal Techniques
Removing sewing stitches safely can be a straightforward process if you follow the right techniques.
For both beginners and experienced sewers, mastering safe stitch removal can protect your fabric during various sewing projects. Here are four key steps to guarantee a clean removal:
- Use a seam ripper or small, sharp scissors to cut the threads from the back side of the fabric.
- Gently pull the fabric taut while cutting to minimize fraying.
- After cutting, use tweezers to grasp and pull out the stitches for better control.
- Finally, inspect your fabric for any loose threads or damage, and consider re-sewing if necessary for a polished finish.
With these tips, you'll achieve safe stitch removal every time!
Tools for Stitch Removal
After mastering safe stitch removal techniques, having the right tools on hand makes the process even smoother.
A seam ripper is your best ally; its pointed tip and blade slide easily under stitches, allowing you to cut threads without damaging the fabric.
While fine-tipped scissors can also aid in stitch removal, use them with caution to avoid snipping the material itself.
Always work slowly and carefully to minimize fraying, ensuring you're just cutting the threads.
Once you've removed the stitches, don't forget to clean up any loose threads with a small brush or lint roller to keep your workspace tidy.
Finally, inspect the fabric for any damage, so it can be effectively resewn or repaired. Additionally, maintaining proper color accuracy in your sewing projects can enhance the overall quality of your finished pieces.
Mastering Hand Sewing Stitches
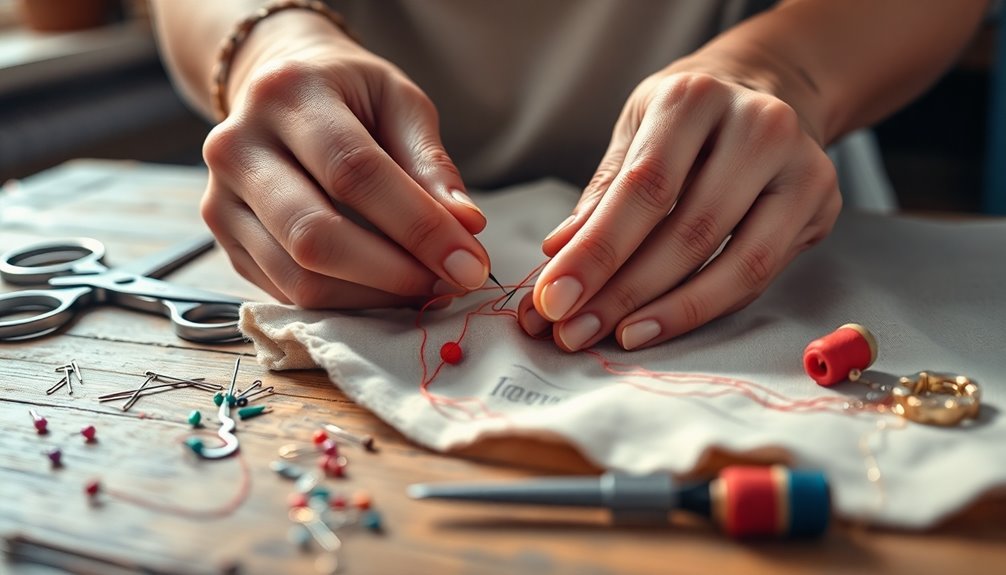
Mastering hand sewing stitches opens up a world of creativity and practicality in your sewing projects. Start by honing your skills with some basic stitches.
Here's what you need to focus on:
- Running Stitch: Great for simple seams and gathering fabric.
- Backstitch: Offers strong, durable seams, perfect for heavy fabrics.
- Whipstitch: Ideal for hemming and finishing raw edges.
- Consistent Spacing: Practice keeping your stitches evenly spaced for a professional look.
Tools like needles, thread, and fabric marking pens can enhance your hand sewing accuracy.
Remember, these stitches aren't just for mending; they also let you add decorative elements, enriching your sewing experience and personalizing your creations.
Sewing Over Pins: Tips for a Seamless Experience
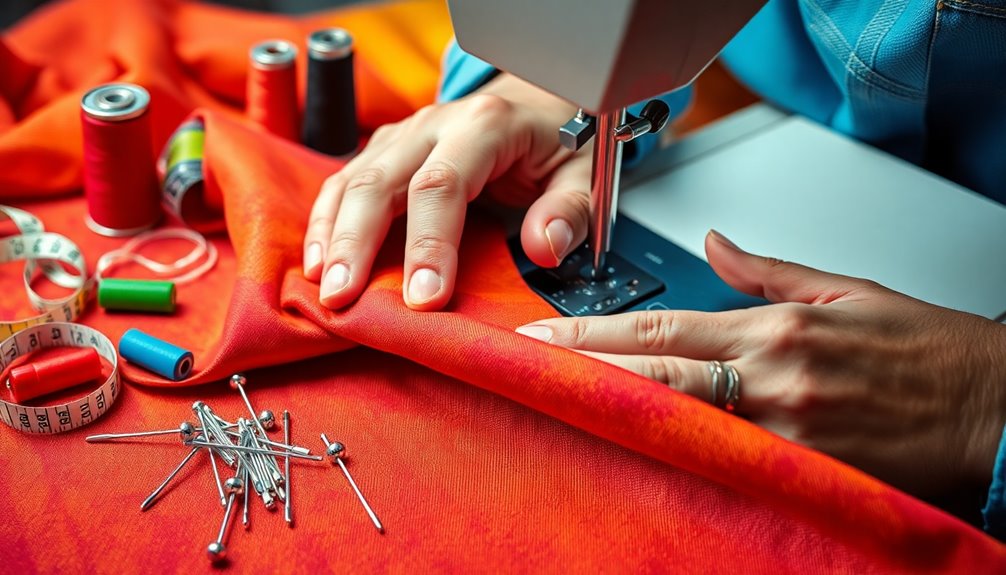
When you're sewing over pins, it's essential to place them correctly and maintain control.
Use plastic-headed pins and lower your presser foot to keep your stitches consistent and avoid needle breakage.
Let's explore the best techniques for safe pin sewing, effective pin placement, and maintaining stitch quality for a seamless experience.
Safe Pin Sewing Techniques
Sewing over pins can be a challenging task for many, but with the right techniques, it becomes a seamless part of your process.
To master safe pin sewing techniques, keep these tips in mind:
- Maintain a steady speed to prevent breaking your needle; sudden stops can lead to mishaps.
- Position pins parallel to the seam line and remove them as you approach for easier fabric manipulation.
- Use plastic-headed pins, as they withstand heat better and are safer to sew over.
- Always consult your sewing machine's manual for specific recommendations regarding sewing over pins.
Pin Placement Strategies
Effective pin placement can considerably enhance your sewing experience, especially after mastering safe pin techniques. Confirm you insert pins perpendicular to the fabric edge to avoid obstructing the sewing line, making it easier to remove them as you sew.
Maintain a consistent spacing of about 4 to 6 inches between pins for peak fabric alignment, which allows your sewing machine to glide smoothly. When sewing over pins, opt for ballpoint or specialized sewing machine needles to minimize the risk of breakage.
Maintaining Stitch Quality
Mastering the art of maintaining stitch quality is essential for any sewing project, especially when maneuvering the challenge of sewing over pins.
To guarantee a seamless experience, keep these tips in mind:
- Place pins perpendicular to the sewing line to minimize the risk of broken needles and fabric puckering.
- Use plastic-headed pins that can withstand heat and won't distort the fabric.
- Always lower the presser foot before sewing over pins to maintain a consistent stitch and prevent skipping.
- Sew slowly when approaching pins for better control and to avoid damage.
If you prefer not to sew over pins, consider using pin alternatives like pattern weights or basting stitches to secure fabric layers effectively.
Preshrinking Guidelines for Perfectly Fitted Garments

Before you plunge into cutting and sewing, it's essential to preshrink your fabric to guarantee your finished garments fit as intended after washing. Many fabrics shrink considerably, affecting the fit after washing. Different preshrinking techniques suit various fabric types, so always consult the care label.
Here's a quick guide:
| Fabric Type | Preshrinking Technique | Recommended Method |
|---|---|---|
| Cotton | Machine wash | Hot water |
| Linen | Machine wash | Warm or hot water |
| Silk | Hand wash or dry-clean | Cold water |
| Wool | Hand wash | Cold water |
| Polyester | Machine wash | Warm water |
Testing a swatch can help gauge shrinkage and ensure your garments maintain their size post-wash.
Quick Tips for Preventing Seam Puckering
Seam puckering can be frustrating, but you can take simple steps to prevent it.
By applying these tips and tricks, you'll enjoy smoother seams in your sewing projects:
- Adjust Tension: Make sure to set the sewing machine tension according to the fabric type to avoid excess tightness.
- Use Longer Stitch Length: A longer stitch length allows fabric to move freely, reducing the chance of puckering.
- Pin Securely: Pinning fabric layers together prevents movement during sewing, leading to a more stable seam.
- Employ Stabilizers: Using interfacing or tear-away stabilizers provides support for delicate fabrics, minimizing puckering.
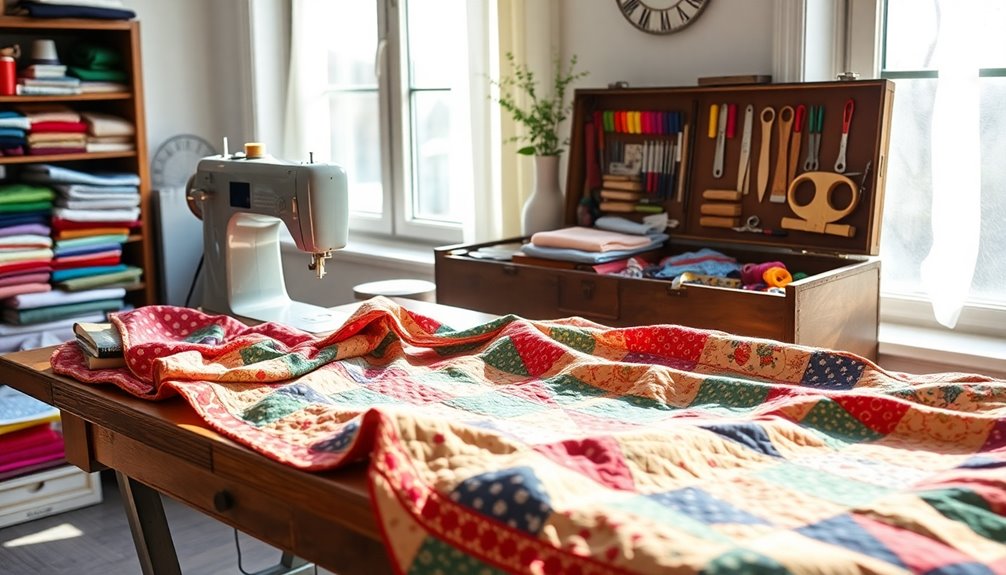
Sewing Room Organization Tips for Efficiency
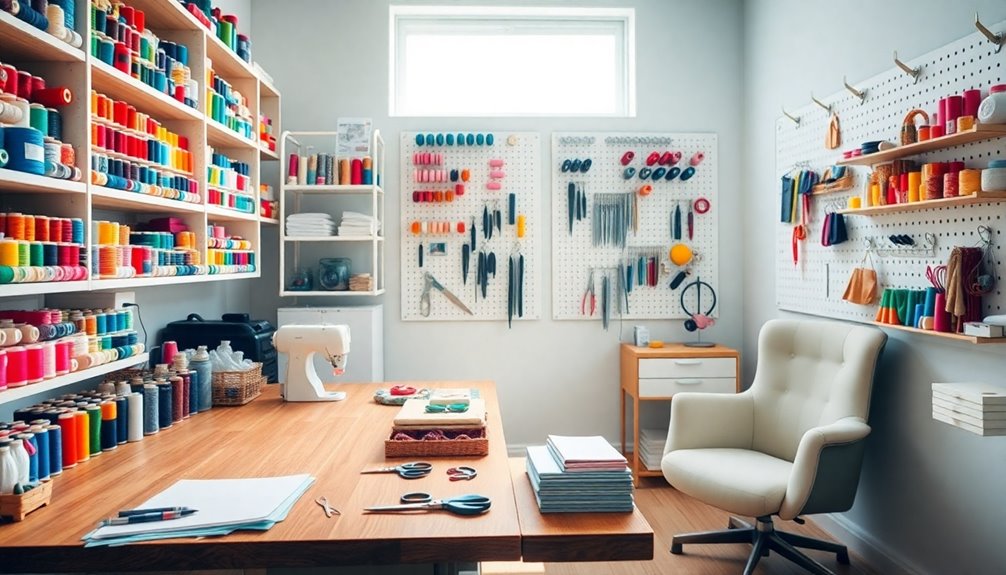
Creating an efficient sewing room can dramatically boost your productivity and creativity. Start by ensuring your space is organized. Use clear storage bins and labels to categorize your fabric, tools, and supplies, making it easy to find what you need.
Set up a dedicated workspace that includes a cutting area and sewing machine station to promote an efficient workflow. This setup minimizes the time you spend moving between tasks. Regularly declutter by donating or discarding unused materials and tools, keeping your environment inviting.
Additionally, incorporate pegboards or wall-mounted organizers to maximize vertical space, keeping essential tools within reach while maintaining a tidy area. An organized sewing space can enhance your focus and inspire your next project!
Frequently Asked Questions
What Is the First Thing a Beginner Should Sew?
When you're starting out in sewing, a simple pillowcase is a great first project. It requires just a small amount of fabric and basic straight stitching, giving you a quick sense of accomplishment.
Alternatively, you might consider sewing a tote bag, which teaches essential skills like sewing seams and adding handles.
Whichever you choose, focus on practicing accurate measuring and cutting for a solid foundation in your sewing journey.
What Is the Easiest Fabric to Sew for Beginners?
When you're starting out in sewing, the easiest fabric to work with is quilting cotton.
It's lightweight, easy to handle, and has a stable weave that minimizes fraying.
Broadcloth is another great option, offering a smooth surface that's versatile for various projects.
If you're feeling adventurous, medium-stretch knit fabrics like cotton jersey can also be manageable with the right tools.
Just steer clear of complex fabrics like silk and velvet for now!
How to Learn Stitching for Beginners?
So, you wanna learn stitching, huh? Good luck getting tangled in a web of threads!
But fear not—start with basic hand stitches like the backstitch and whipstitch. Grab some quilting cotton; it's your best buddy.
Don't forget to read your sewing machine's manual—it won't bite! Check out online tutorials for visual guidance, and join sewing communities.
They're like support groups, but with more fabric and less drama. You'll be stitching like a pro in no time!
What Do You Call Someone Who Likes to Sew?
If you enjoy sewing, you're typically called a "sewer," pronounced "soh-er." This term sets you apart from the word "sewer" related to waste disposal.
Depending on your skill level, you might also identify as a "seamstress" or "tailor." If you focus on quilting, you'd be a "quilter."
Many sew enthusiasts connect in online communities or local groups, sharing projects and techniques, creating a supportive environment for everyone involved.
Conclusion
So, you've mastered the basics of sewing, thinking you're ready to conquer the world of fabric. Ironically, the more you learn, the more you realize how much there is still to discover! Each stitch uncovers new challenges, yet that's what makes it all worthwhile. Embrace the journey, stay curious, and remember: every expert was once a beginner, just like you. Now, go ahead and create something amazing—after all, it's just a stitch in time!